Night Raid
Night Raid is the twenty-third main quest in Kingdom Come: Deliverance. Talmberg has been seized, and Lady Stephanie and Sir Radzig have been taken prisoner. It's up to Henry to sneak into the castle and try to set them free.
Synopsis
A decision was reached to try once more to sneak into the castle and free the hostages.
Objectives
- Go and see Captain Robard once you're ready.
- Find Sir Radzig and Lady Stephanie.
- Wait until the sentries are taken out.
- Scale the walls.
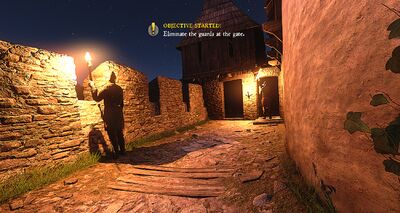
- Eliminate the guards at the gate.
- Scale the walls.
- Wait until the sentries are taken out.
- Discuss what to do next with Sir Hans.
- Get out of the castle with Capon.
Walkthrough
Henry wakes up in the stone quarry. He will mention that he better equip his "night" gear (that is, the blackest, noiseless, least conspicuous clothes you have). Whether or not you choose to follow this suggestion, talk to Robard when ready. He will remind you of this one more time, although he won't complain if you insist on proceeding in noisy armor.
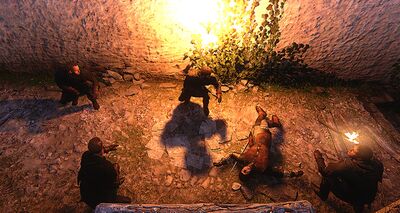
A short cutscene will show the small band of soldiers assembled to try and enter the castle. Sir Hans Capon is one of the volunteers.
As you have been told, the plan is to launch a small night raid into the castle to free the hostages (Lady Stephanie, Sir Radzig and a few servants have been taken by the invaders), thus depriving Sir Istvan of leverage.
The raid will start with the raiders carrying a ladder towards the west wall. Follow the group towards the wall. Two of them will climb it, instructing all the rest to wait until the sentries are taken care of. Henry and Sir Hans exchange a few words and then Hans will start climbing. The last raider will shortly follow him, after which you are free to climb as well.
Climb the wall to find the sentries taken care of and the next part of the plan, which involves you (Hans will volunteer Henry for the job) taking out the two guards by the gatehouse as quietly as possible.
Follow one of the raiders towards the gatehouse. There will be two guards with torches: one looking over the battlements and one watching the stairs. Stealth kill or takedown them both to proceed. Be warned that the stairs guard will periodically turn around, walk towards the corner of the castle, then back to his original position. The battlements guard is more passive, so it is safer to take down the stairs guard first.
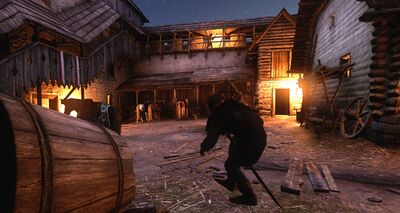
Hans will grab the first dead guard and put him inside the armory. Follow him down the stairs and wait for him to move. Stay close and watch out because there are three guards (one in the courtyard, the other two patrolling the wooden stairs and battlements). Hans will have perfect stealth and only move when the guards are looking away, so if you stay close to him you should be fine. Just be patient.
The objective here is to go to the room you first stayed in when fleeing Skalitz. There are some hostages in the room next door to yours. Talk to them only to find they haven't seen neither Lady Stephanie nor Sir Radzig, and that they have no idea where they might be.
Discuss the latest news with Sir Hans. No matter the response (either leave at once or insist you will go inside and try to find them), a guard will spot you two and fire an arrow at Hans. The cutscene ends and Henry must grab Hans and carry him out the way they came.
Go back to the gate, then up the stairs and back to the ladder you used to climb the wall. As soon as you approach it, another cutscene will trigger and the quest will end, giving place to Siege.
Notes
- Neither agreeing to leave right away nor insisting to stay and look for the hostages has any weight on how the situation develops.
- There is a The Witcher Easter egg that can sometimes be seen during this quest, in the form of a white-haired NPC carrying two swords on his back. He might not appear every time.
- The friendly raiders who accompany you for this quest are invulnerable including during the escape section.
- Getting caught early will cause Henry's position to be swarmed by bandits and change the objective to escaping the castle. This however does not appear to have any long term effects, though Hans will avoid getting injured.
- The doors to Talmberg's manor (including the kitchen, dining hall, and Divish's chambers) are inaccessible during the stealth portion of the quest, though the player may still access most of the battlements. Doing so will reveal they are very sparsely guarded - aside from the two bandits Henry is tasked with taking down, there are three in the central courtyard (as previously described) and two more on the battlements. Significantly more enemies will immediately spawn if stealth is broken however.
- The first and second floors of Talmberg's manor will open during the escape section, though entering them will reveal little of interest as these rooms are mainly used as bandit spawn points.


